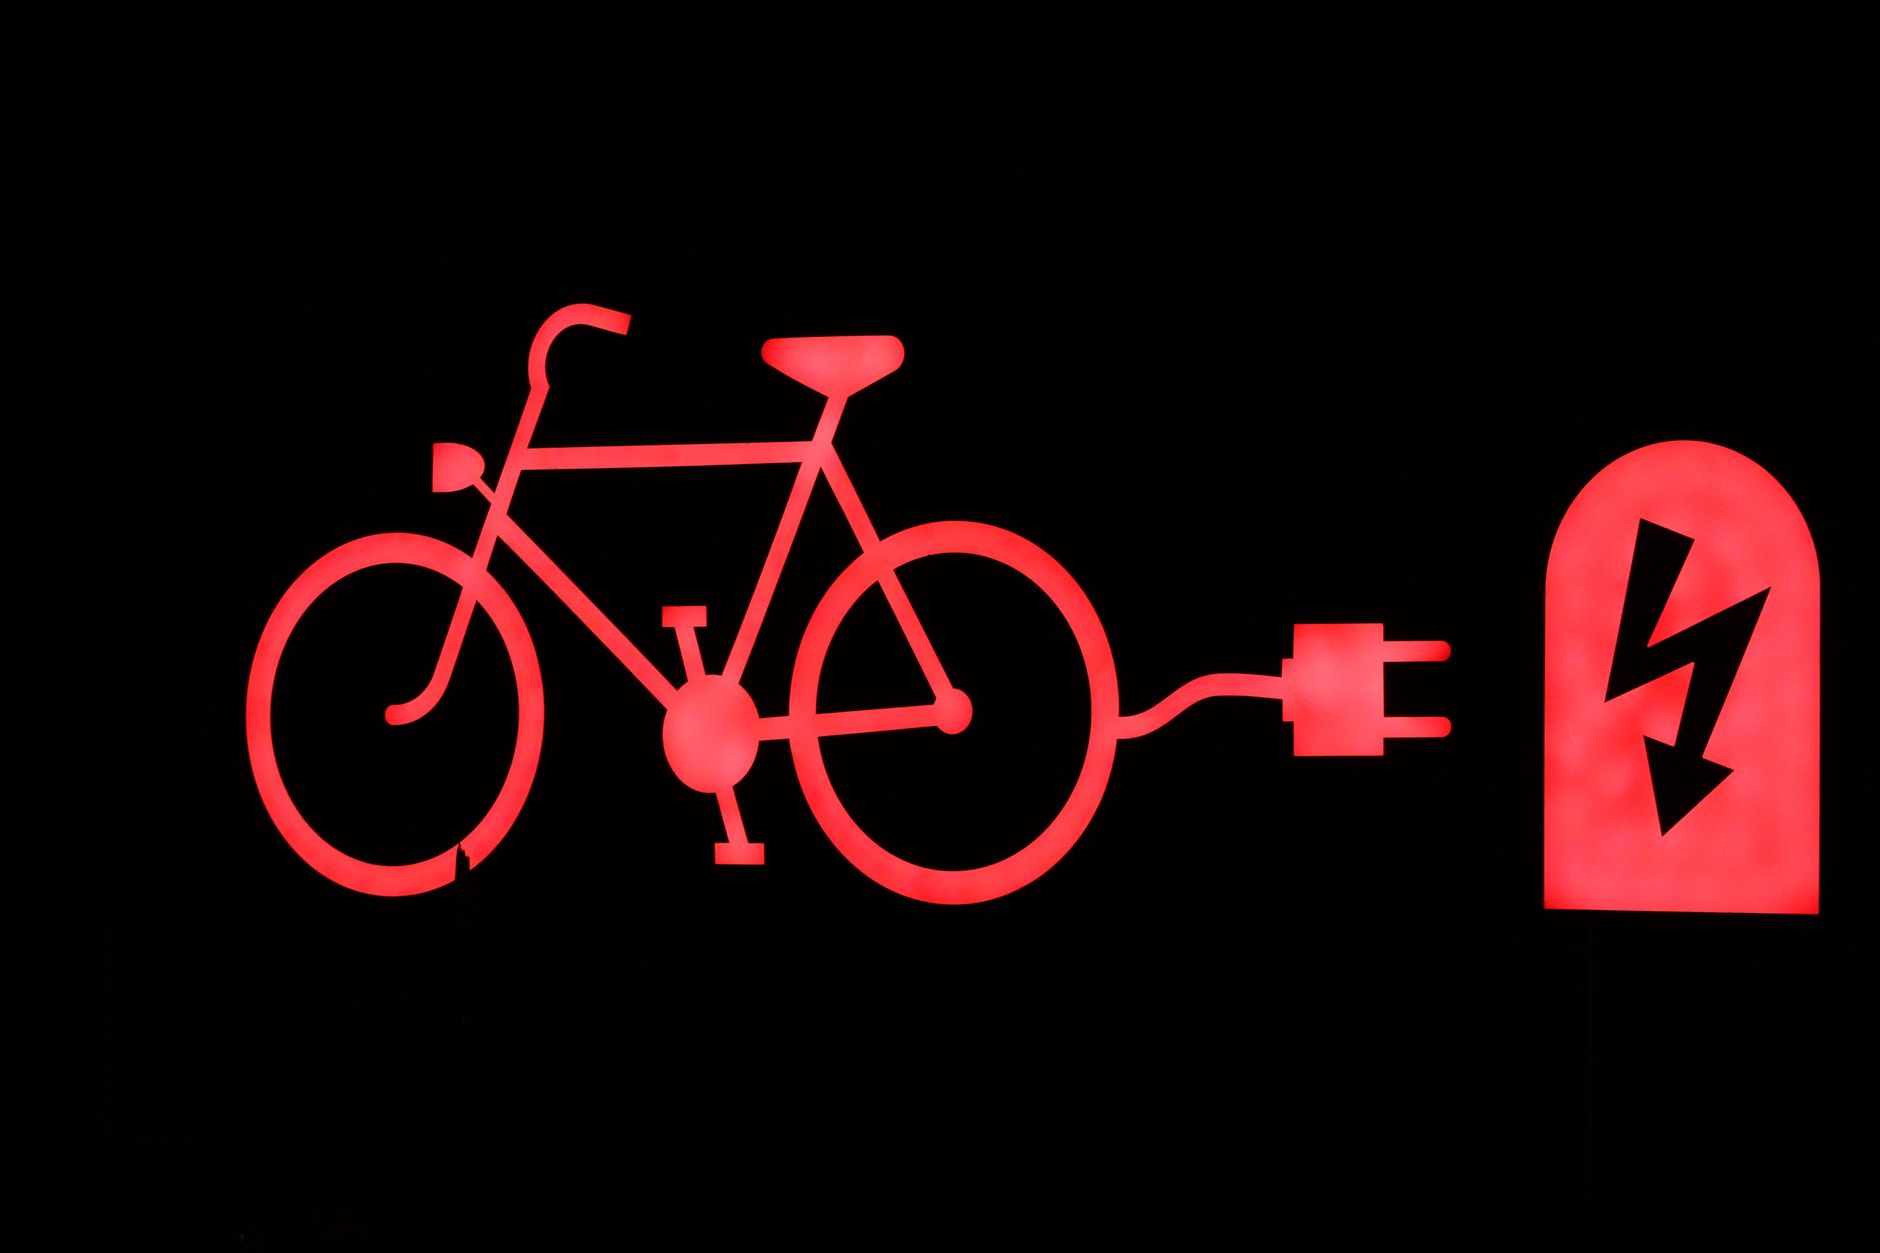
Electric bikes have been quietly storming the streets in many parts of the world. From where? Because it’s a fantastically fun and efficient way to move. You get all the pleasure and freedom of cycling (avoiding traffic jams and parking, for example) while pushing beyond the physical limits of your ability to climb hills and cover long distances.
When you have an electric bike, it’s easy to leave the car parked in the driveway for all those short to medium-length jobs. The e-bike will get you there faster and with a 98% lower carbon footprint!
While there are many factory-built e-bikes these days, the movement was truly pioneered and championed by a community of DIY makers who electrified their own bikes from scratch in the late 1990s and early 2000s. You too can join this phenomenon on a free afternoon.
In this project, we’ll show you how to turn your own bike into an electric-assist bike using a basic front wheel hub motor kit.
There are countless options on the market for front motors, rear motors, and mid-drive motors covering all sorts of weight and power levels, but we’re going to focus on a low-power front drive because it’s one of the simplest to install and has the best chance of being compatible with any random bike in your garage.
MATERIALS
Bike Just about any bike you have around, whether it’s a daily commuter or an old beater collecting dust in the garage. Older mountain bikes are often ideal platforms, but almost any road bike, beach cruiser, or hybrid will also work. One advantage of a front hub motor is that it doesn’t matter what type of sprockets or drive chain you have.
The only important detail is that the front fork has ordinary split dropouts (not a modern high-end thru-axle system). Hub motor conversion kit Many suppliers offer conversion kits, which normally include the motor, battery and all the electronic controls needed to run the system. You can find conversion kits with a simple search on the internet. You can see or take examples from here and here.
If you do not want to buy it as a kit, you can buy the parts in the kit one by one in a compatible manner. The kit includes a hub motor front wheel, battery pack, motor controller, torque arm, thumb lever throttle and more.
OPTIONAL:
If your bike has disc brakes on the front wheel, disc rotor. The motors use a 6-bolt ISO disc, readily available at bike shops. If your bike frame doesn’t have properly placed water bottle holes, bottle coil clamps to secure the batteryDisplay If you want to display battery voltage, speed and all, there are many options for handlebar displays. But for this setup we’ll keep it minimalist.
YOUR BASIC E-BIKE CONVERSION KIT
The hub motor wheel is small and light (5 lb) and drives a completely silent helical gear system. It’s not a power machine for racing up hills, but it feels like a regular bike rather than a scooter, providing enough support to transform your bike into something new during use. This engine is already mounted on a 700c rim, which is common on road and hybrid bikes.
Other sizes are available, including 26″ for older mountain bikes and 27.5″ for newer ones.
Battery pack We chose a 36V, 16.5Ah downtube battery pack because it’s lightweight and still has decent range, around 35-40 miles on a charge. If you need to go farther, larger batteries are available, but they are proportionately heavier and more expensive.
Motor controller The Baserunner motor controller in this system is built into the mounting bay of the battery pack. In other kits, the controller may be built into the engine or provided as a separate box.
The torque arm secures the engine axle to prevent it from rotating within the chassis. The motor itself has striped washers that do the job in most cases, but a proper torque arm provides extra security and is essential for weaker aluminum forks.
The throttle regulates the power you get from the engine. We use the thumb lever throttle because it’s so versatile, but there are also twist-grip throttles that act more like motorcycle grip.
Spiral wrap and zip ties keep the engine extension cable and throttle cables snug against the frame and help keep the entire setup looking neat.
INSTALL YOUR E-BIKE ENGINE
The steps below work the same for any ordinary bike. This build featured a used hybrid bike that one of our new staff members at Grin Technologies (hi Stuart!) wanted to convert to speed up his commute.
You can watch a video of a similar kit installation first.
1. REMOVING THE FRONT WHEELThe first step is to turn your bike over so it is on the handlebars and remove the original front wheel, which is either quick-release or threaded with nuts. If you have rim brakes on the bike, you will need to loosen the brake cable or deflate the tire to slide the wheel between the brake pads.
2. REPLACE THE TIRE AND TUBE TO THE ENGINE WHEELUsing the tire lever or an improvised lever, carefully lift the original tire from your front wheel, being careful not to shatter the inner tube.
Once the tire and tube are removed, install them on the hub motor wheel by reversing this process. Anyone who has fixed a flat tire will be familiar with this sequence, and it is often our main question as to whether someone has the comfort level to fit their own kit.
3. INSTALL HUB ENGINE TO FORK Things can get a little difficult here. The hub motor wheel should slide into the fork dropouts if it has 10mm clearance, but sometimes the removal slot is not wide enough. In this case, use the hand file to enlarge the slot until the axle fits snugly.
Some kits use striped anti-rotation washers inside the dropouts to prevent the axle from rotating; If these are used, it is important that they are oriented with the tab facing down. For this G311 kit, we replace the tab washer with a torque arm plate that provides much better rolling resistance.
When installing the front motor, make sure the cable outlet is rotated to face down and the disc mount is on the left side of the fork.
4. INSTALL TORQUE ARMThe torque arm is designed to screw into the fender bore hole found on most front forks. It is attached with an M5 bolt and a slotted channel allows it to be adjusted to different geometries and hole positions for alignment. A torque arm isn’t always necessary for low-power bikes like this, but even with steel forks it’s a good safety precaution to install one regardless.
5. TIGHTEN NUTS AND ADJUST BRAKES Make sure the engine axle nuts are fairly tight as there is a lot of turning torque on the axle. (If you can measure, we recommend at least 40Nm or 30ft-lb.) At this point, the motor is attached to the bike. You can inflate the tire and turn the bike to the right again so that it rests on the wheels.
Now make sure your front brakes are working again. If you have rim brakes, you may need to adjust the pad position to account for the width of the new rim. If you have disc brakes and installed a disc rotor in the hub, adjust the caliper so it rotates left or right without rubbing.
6. INSTALL BATTERY CRADLE The battery pack fits into the bike’s down tube, where it locks into a cradle held in place by water bottle bolts. If your bike has mounting lugs (aka eyelets) for a water bottle cage in the correct position, then if you’ve set it up, use the included low-profile bolts to keep the head from coming off.
If your bike doesn’t have water bottle loops, or they’re too far back for the battery to fit, you’ll need to use bottle coil clamps. These attach securely to your frame tube with hose clamps, allowing you to place the battery wherever you want.
7. INSTALLING THE THROTTLE To install the thumb throttle on the handlebars, you first need to remove the grips and sometimes the brake lever. These grips have allen screws to tighten the handlebars; Loosen the screws and slide immediately.
The thumb throttle can be positioned on the left or right side, and since it adds a little extra width, you may want to loosen and reposition the shifter and brake levers so they’re comfortably accessible without pinching your hand.
Slide the throttle into place and find a comfortable place for it and the brake lever and gear lever, then squeeze them and slide the lever back in.
8. ROUTING THE CABLESAt this point, all the basic hardware is on the bike and it’s just a matter of connecting the parts together and securing the cable run-through. Using spiral-wound tubing, route the throttle cable to follow either the brake or shift cables. It comes forward from the handlebar and then travels along the down tube to the throttle plug in the engine controller.
The front hub motor has an extension cable harness that connects the motor to the motor controller. This cable runs up the side of the fork, held in place by cable ties, and then follows the down tube to the matching plug on the motor controller. Use cable ties as needed and cut off any offending pieces.
9. PRELIMINARY CHECK You’re ready to slide the battery into the slot and rip! However, always double-check these details before operating the system:
Engine axle nuts nice and tightReinstalled your front brakesFront tire inflatedBattery key lock locks ON so the pack doesn’t fall out when you hit a big bump.
Once you’ve done this, you should be able to flip the battery’s on/off switch to the On position, see the controller LED turn solid red, step on the throttle, and watch your life transform as the youthful joy of cycling returns. with glory. Grinning!
TAKE YOUR FIRST E-JOURNEY
Your newly converted e-bike will easily go 20 mph on flat ground. It will climb modest hills (3%-6% grade) quite well, but will struggle on really steep hill climbs unless you introduce enough leg strength into the equation. That said, it’s a lot easier than not having the engine.
Basic throttle control lets you determine exactly how much power you want from the engine at any time. You can save power just for hills and winds, or use it all the time to maintain a fast average speed.
It’s also possible to add torque sensors or pedal sensors to the bike frame to automatically engage the engine when you turn the cranks, but these usually require more specialized bike tools to install.
The range you can get from a particular e-bike battery is no secret, but it largely depends on how it’s used. Most people with a bike setup like this consume around 15 Wh/mile. This means a 500 watt-hour battery will have a range of 500/15 = 33 miles. Going uphill you’ll need more, like 30-40 Wh/mile, while hills consume nothing and averages are pretty consistent.
If you don’t pedal at all, your average consumption will be around 20–25 Wh/mile, while if you use the engine more sparingly you can easily get down to 8–10 Wh/mile and have a great range of up to 50+ miles. .
If you’re buying a kit and want an estimate of how far it will go on a charge, it’s best not to compare the claimed range, just look at the size of the battery in watt-hours.
You May Like